


DIY clothing projects have become increasingly popular in recent years, as more people seek to express their creativity and individuality through fashion. Making your own charming t-shirts at home is a great way to get started with DIY clothing projects, as t-shirts are versatile, comfortable, and easy to work with.
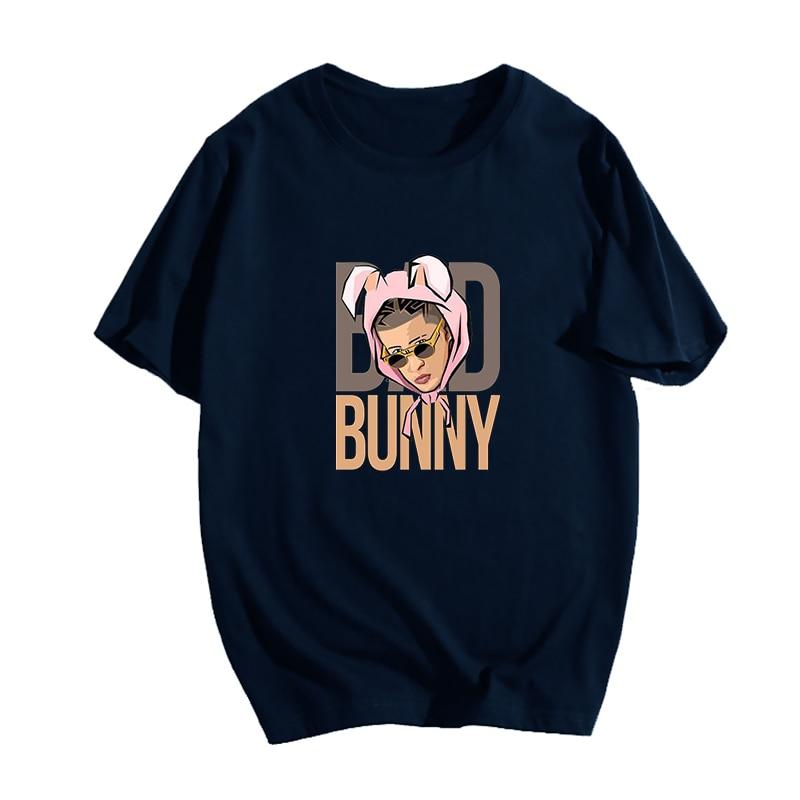
Creating your own charming t-shirts Bad Bunny T Shirt also allows you to customize your wardrobe and stand out from the crowd. You can choose the design, colors, and embellishments that best reflect your personality and style, making your t-shirt truly unique.
Moreover, making your own t-shirts can be a fun and rewarding activity. It allows you to learn new skills, experiment with different techniques and materials, and create something that you can be proud of. So, if you are looking for a fun and creative project to do at home, making your own charming t-shirts is definitely worth trying.
Materials Needed
T-shirts (in the color and size of your choice)
Fabric dye (for tie-dye projects)
Stencils (for stenciled t-shirts)
Fabric paint (for stenciled and printed t-shirts)
Embroidery thread and needle (for embroidered t-shirts)
Fabric glue or fusible web (for appliqué t-shirts)
Fabric markers (for printed t-shirts)
Iron-on transfer paper (for printed t-shirts)
Scissors
Painter’s tape (for stenciled and printed t-shirts)
Sponge or brush (for stenciled and printed t-shirts)
Cardboard or plastic sheet (for tie-dye and stenciled t-shirts)
DIY Charming T-Shirt Ideas
Idea 1: Tie-Dye T-Shirt
Tie-dye is a classic technique for adding color and pattern to t-shirts NBA Youngboy Hoodie To make a tie-dye t-shirt, you will need fabric dye, a plain white t-shirt, and some rubber bands. You can use various dyeing techniques such as the spiral, bullseye, or crumple methods to achieve different patterns. You will need to mix the dye according to the manufacturer’s instructions, apply it to the t-shirt, wrap the shirt with rubber bands, and let it sit for a certain amount of time. After that, rinse and dry the shirt to reveal your unique tie-dye creation.
Idea 2: Stenciled T-Shirt
Stenciling is a technique that allows you to transfer a design onto a t-shirt using paint or ink. You will need a stencil (which can be purchased or made at home), fabric paint, a sponge or brush, and a plain t-shirt. Secure the stencil onto the shirt using painter’s tape, then dab the paint onto the stencil using a sponge or brush. After that, carefully remove the stencil and let the paint dry before wearing your new stenciled t-shirt.
Idea 3: Embroidered T-Shirt
Embroidery is a hand-sewing technique that can add a unique and personal touch to t-shirts.
Idea 4: Appliqué T-Shirt
Appliqué is a technique where fabric shapes or designs are cut out and sewn onto a t-shirt to add texture and interest. You will need fusible web or fabric glue, fabric scissors, and two different fabrics (one for the t-shirt and one for the appliqué). Cut out the design or shape from the appliqué fabric, fuse it onto the t-shirt using fusible web, and sew it onto the t-shirt to secure it in place. You can create different designs by using different fabrics and shapes, making your appliqué t-shirt truly unique.
Idea 5: Printed T-Shirt
Printing is a technique that allows you to transfer a design or image onto a t-shirt using various methods, such as fabric markers, iron-on transfer paper, or screen printing. You will need a printer, transfer paper, fabric markers, or screen printing materials, depending on the method you choose. Simply print out your design or image onto the transfer paper or use fabric markers to create your own design, then follow the instructions on the package to transfer it onto the t-shirt. Printing allows you to create detailed and colorful designs that can make a bold statement on your t-shirt.
Step-by-Step Instructions
Idea 1: Tie-Dye T-Shirt
Materials needed:
T-shirt (white or light-colored)
Fabric dye
Rubber bands
Gloves
Plastic or cardboard sheet
Instructions:
Pre-wash the t-shirt to remove any sizing or dirt.
Prepare the dye according to the manufacturer’s instructions in a large bowl or container.
Lay the t-shirt flat on a plastic or cardboard sheet.
Scrunch the shirt or fold it into your desired pattern.
Use rubber bands to secure the fabric tightly in place.
Dip the shirt into the dye and saturate the fabric fully.
Allow the dye to set for the time specified on the dye package.
Rinse the shirt thoroughly in cold water until the water runs clear.
Remove the rubber bands and gently wash the shirt with mild detergent.
Hang or lay the shirt flat to dry.
Tips and tricks:
Wear gloves to avoid staining your hands.
For brighter colors, leave the shirt in the dye for a longer time.
Experiment with different folding and twisting techniques to create unique patterns.
If you want to achieve a more muted tie-dye effect, try using less dye or dilute the dye with water.
Idea 2: Stenciled T-Shirt
Materials needed:
T-shirt
Stencil
Painter’s tape
Fabric paint
Sponge or brush
Instructions:
Pre-wash the t-shirt to remove any sizing or dirt.
Place the stencil onto the shirt and secure it with painter’s tape.
Dip the sponge or brush into the fabric paint and dab it onto the stencil.
Carefully remove the stencil and let the paint dry.
Iron the shirt (with a cloth between the iron and the design) to set the paint.
Tips and tricks:
Apply the paint sparingly to avoid smudging or bleeding.
Experiment with different colors and designs to create a unique look.
To create a more distressed or faded effect, use sandpaper or a cheese grater to wear away the paint after it has dried.
Idea 3: Embroidered T-Shirt
Materials needed:
T-shirt
Instructions:
Draw or trace your desired design onto the t-shirt.
Secure the t-shirt in the embroidery hoop.
Thread the needle with embroidery thread and tie a knot at the end.
Begin stitching your design onto the t-shirt using your chosen stitch.
Continue stitching until the design is complete.
Knot the thread on the inside of the shirt and cut off any excess.
Tips and tricks:
Use a washable fabric marker to draw or trace the design onto the t-shirts.
Use a stabilizer fabric or interfacing on the inside of the t-shirts to prevent the embroidery from pulling and distorting the fabric.
Experiment with different stitch patterns and colors to create unique designs.
Idea 4: Appliqué T-Shirts
Materials needed:
T-shirts
Fabric for the appliqué
Fusible web or fabric glue
Fabric scissors
Sewing needle and thread
Instructions:
Cut out your desired shape or design from the appliqué fabric.
Cut a piece of fusible web or fabric glue to match the size
Conclusion
In summary, making your own charming t-shirts is a great way to express your creativity, save money, and have a unique and personalized piece of clothing. DIY t-shirts are also a fun and rewarding activity to do at home, whether alone or with friends and family.
We’ve outlined five different DIY t-shirts ideas, including tie-dye, stenciling, embroidery, appliqué, and printing.
We encourage you to try out these ideas at home and experiment with different techniques and materials to create your own unique designs.