


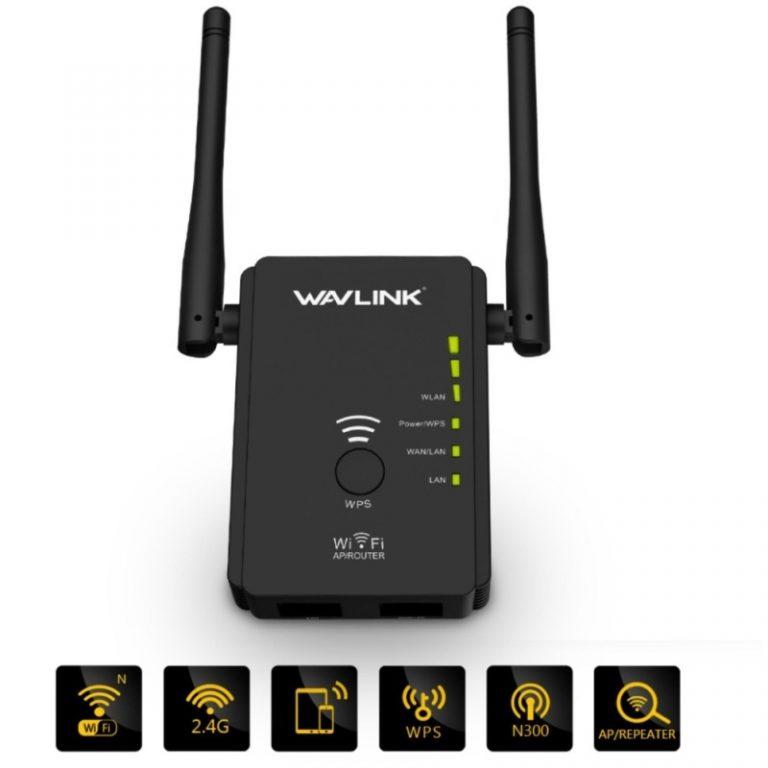
The go-to fix for internet connectivity problems is the Wavlink AC1200 Wifi Extender Setup. Your home is continuously being cleared of dead zones. Using AP is the most effective way to expand your network. Use a Wavlink Ac1200 wifi extender setup for a faster, safer, and better internet setup.
With all of your devices, Wavlink wifi extenders’ functionality is interoperable.
Wavlink can easily manage any device, including a Roku, a smart TV, or even a smartphone. We’ll go over the procedures in this piece for configuring your Wavlink extender.
How do I setup the Wavlink AC1200 Extender?
Here are the steps for setting up your Wavlink AC1200 Extender.Make sure you follow the stated instructions to the letter and don’t skip any steps.
- Turn on your Wavlink AC1200 WiFi Extender using the socket.
- Your gadget must be turned on, as well as your WPS-compatible router.
- Until the setup is complete, put your Wavlink AC1200 WiFi extenders near to one another.
- Find the WPS button on the router and extender right immediately.
- To configure the router and Wavlink wifi extension, press the WPS keys on each device.
- Before going on, wait until the integration process is finished.
- The LED lights turn green a brief while afterward to indicate that the connection was successful.
Note: Contact our technician for help if you need it with your Wavlink AC1200 WiFi Extender, or go to the main website at ap.setup.
How can i setup wavlink ac1200 extender with wps method?
Let’s discuss a different method for installing or configuring your Wavlink ac1200 extension: the WPS setup, also referred to as the wifi protected setup. Using wireless secured setup, you can set up your extension in two to three minutes. There is no need to reveal any identities, passwords, or SSIDs during this process. Just one tiny switch will need to be pressed.
Using WPS, you can easily set up a Wavlink AC1200 extension by following these easy steps.
- Turn on the wavlink extension.
- The home booster and the gateway ought to be near by.
- Simply push your repeater’s WPS button.
- Additionally, turn WPS on for your house wireless router.
- if one can see the steady green WPS indicator.
- This shows just how solid the connection between the extender and gateway is.
- The plug for your extension needs to be relocated and removed.
- All of your extra wifi-enabled gadgets can now join the larger network.
Firmware update for wavlink ac1200 wifi extender
Do you know anything about the firmware? We’ll let you know if it comes out that the firmware is a hybrid of hardware and software. “Firmware” refers to a collection of computer programmes that are incorporated into devices. The wavlink extender firmware may rarely require to be upgraded to address extender-specific issues. These difficulties may relate to performance or security concerns.
- First, turn on your wavlink extension.
- You can use any smartphone.
- Visit ap.setup immediately.
- Pick Settings from the options.
- At this point, click the Firmware Update option.
- To finish the update procedure, adhere to the on-screen instructions.
- Keep your booster hooked in during the procedure.
Troubleshooting steps for wavlink ac1200 wifi extender
- Users are unable to use the WPS button on some networks that use the IP address 192.168.10.1 by default. If you are unable to connect using the WPS button, you can configure your extender using the setup admin screen of your extender.
- The best performance will be achieved if your wireless extender and router are placed near to one another. If not, expanding your network will have a very distinct impact on you. Keep it at least one metre distant from your router for best results.
- Away from any electrical interference devices, place the extension there. Leave monitors, Bluetooth devices, and cordless phones at home.
How do I reset the Wavlink AC1200 WiFi extender?
If your repeater’s internet access isn’t improving or if you forget your login information. Then, using a paper clip, needle, or sharp pin, you can adjust your extension.
- The extension can be powered on by plugging it into an outlet.
- Then, your extension will commence to show a solid blue light.
- Put a pin into the reset slot.
- Leave the pin in position for no less than 8 to 10 seconds.
- At this stage, remove the reset hole’s pin.
- then watch for the LED to completely change blue.
- then keep an eye out for the LED to turn entirely blue.
- Then, on its own, your wavlink extender will restart.